General Instructions
In this homework: CSS Positioning, CSS FlexBox, CSSGrid, Node NPM, Modules.
Create and Use a new Branch hw5
We will create a new git branch called hw5 (starting from your ‘hw4’ branch) for use in this assignment. The branch you create must exactly match the one I’ve given you for you to receive any credit for this homework.
Prior to creating this new branch make sure your working directory is “clean”, i.e., consistent with the last commit you did when you turned in homework 4. Follow the procedures in GitHub for Classroom Use to create the new branch, i.e., git checkout -b hw5. Review the section on submission for using push with a new branch.
Use README.md for Answers
You will modify the README.md file to contain the answers to this homework.
# Homework #5 Solution
**Your name**
**NetID: yourNetID**
Questions
Question 1. (15 pts) More DOM Practice
This question will give you more practice with JavaScript arrays and the DOM. You will need to download the files States.html and states.js and put them in your repo. Don’t put them in your clubProject directory. You are only allowed to work with the States.html file by adding JavaScript code to the existing <script> section at the end of the <body>.
(a) List of Top 5 Least Populous States
There is a <section id="LeastPop"> that contains an ordered list <ol>. Using JavaScript fill this element with the five least populated states with some of their information just like I have done in this screenshot:

Hints: You can’t change the HTML so you need to use a selector to get the <ol> element so you can add <li> to it. Take a look at the states array in your dev tools to see the structure of the array. Use the sort member function with a specific callback. Show your JavaScript code here.
(b) State Abbreviation Game
Now we want to create a little game to help people learn the state abbreviations/codes, i.e., California has code CA. Using JavaScript and the DOM for each state create an element in the format:
<article>
    <p>Arizona</p>
    <input id="AZ" type="text"><p>
    <small title="AZ">Hint</small></p>
</article>
and add it to the <div> element in the <section id="AbbrGame"> section. I have provided styling. You should get something that looks like:
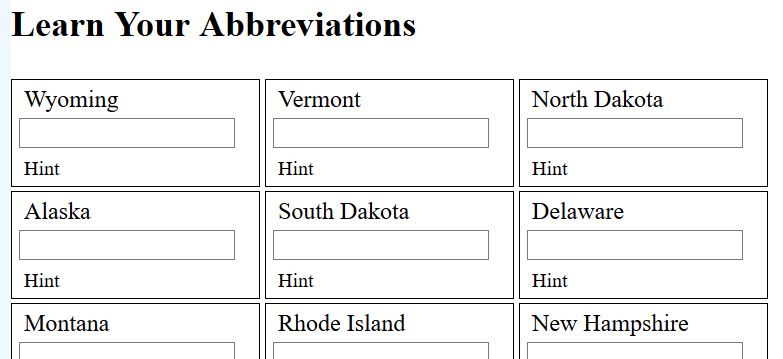
Show your JavaScript code here.
(c) Optional: State Abbreviation Events
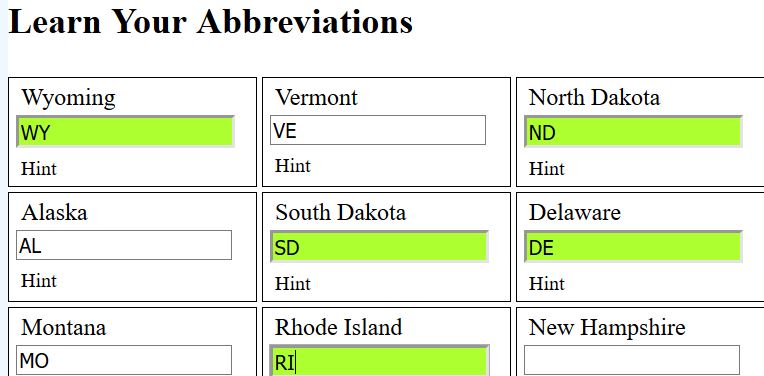
This part is optional to do, but you should study my answer. Respond to user inputs in the <input> by checking if what they type matches the state code (we put this in the <input> id in part (b)), if they get the state code correct at the “happy” class to the input. Here is what my screen shot looks like when a few correct codes are given:
Question 3. (10 pts) Widths and Flexbox
Important: This feature must work on your deployed web site to receive full credit.
(a) Text Width
Text that looks good on a tablet or a cellphone may be difficult to read on a laptop screen because it may be too wide. To consistently place a given number of characters on a line of text which CSS unit(s) might you use? (write your answer here)
Use the appropriate CSS property to limit the width of your <main> (or other element containing text).
(b) Flex for Centering
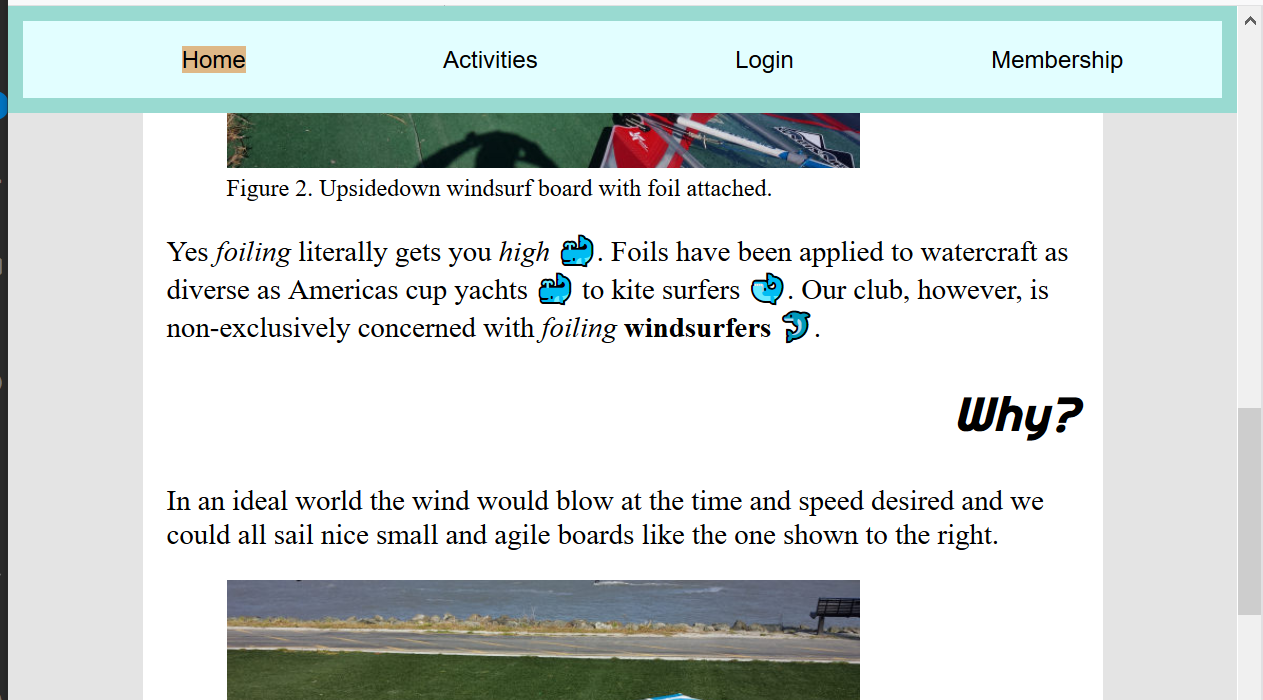
Use flex to center all the content blocks on your page. Show your CSS code here.
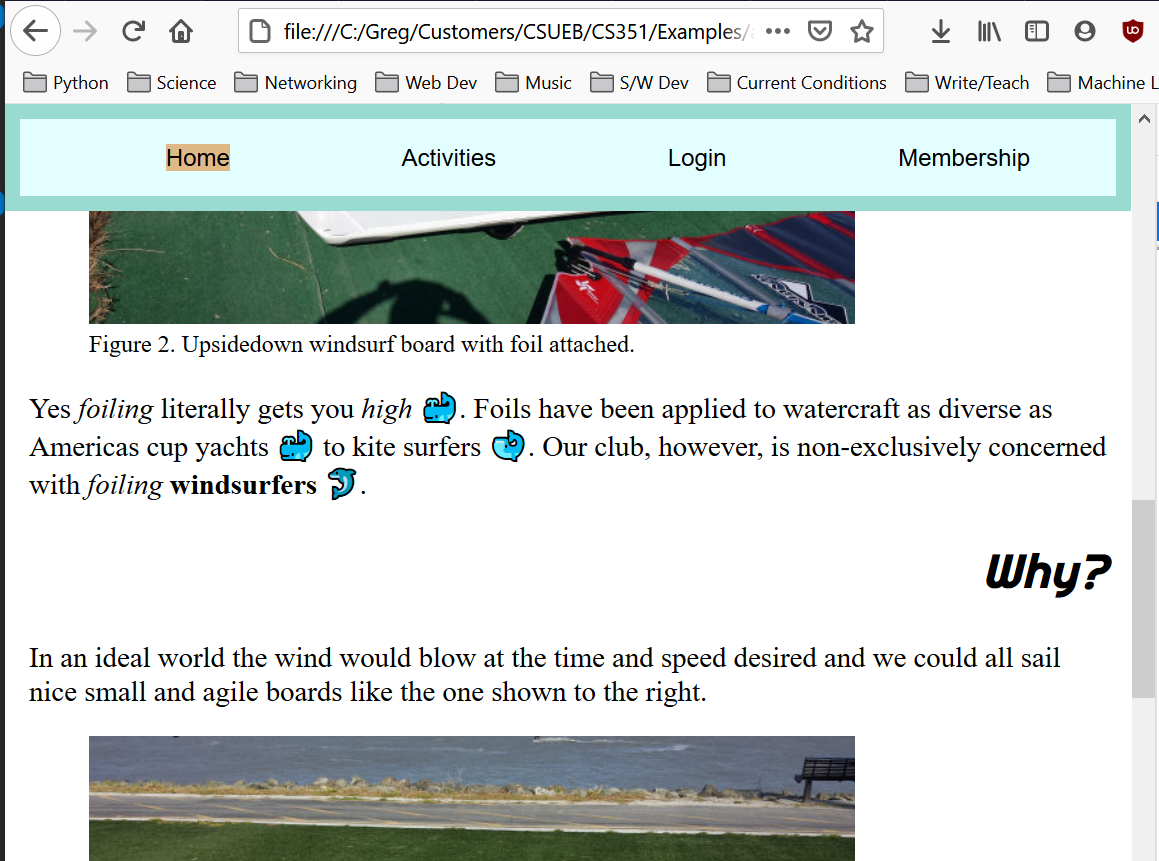
A screenshot of my home page after these modifications looks like:
Question 4. (15 pts) Grid, and Deployment
(a) Grid for Login Widgets
Neaten up your login form with CSS grid. Make it look something like:
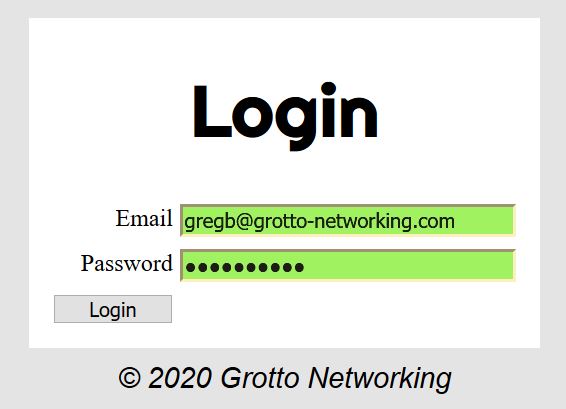
Show the CSS you used here.
(b) Grid for Membership Application Widgets
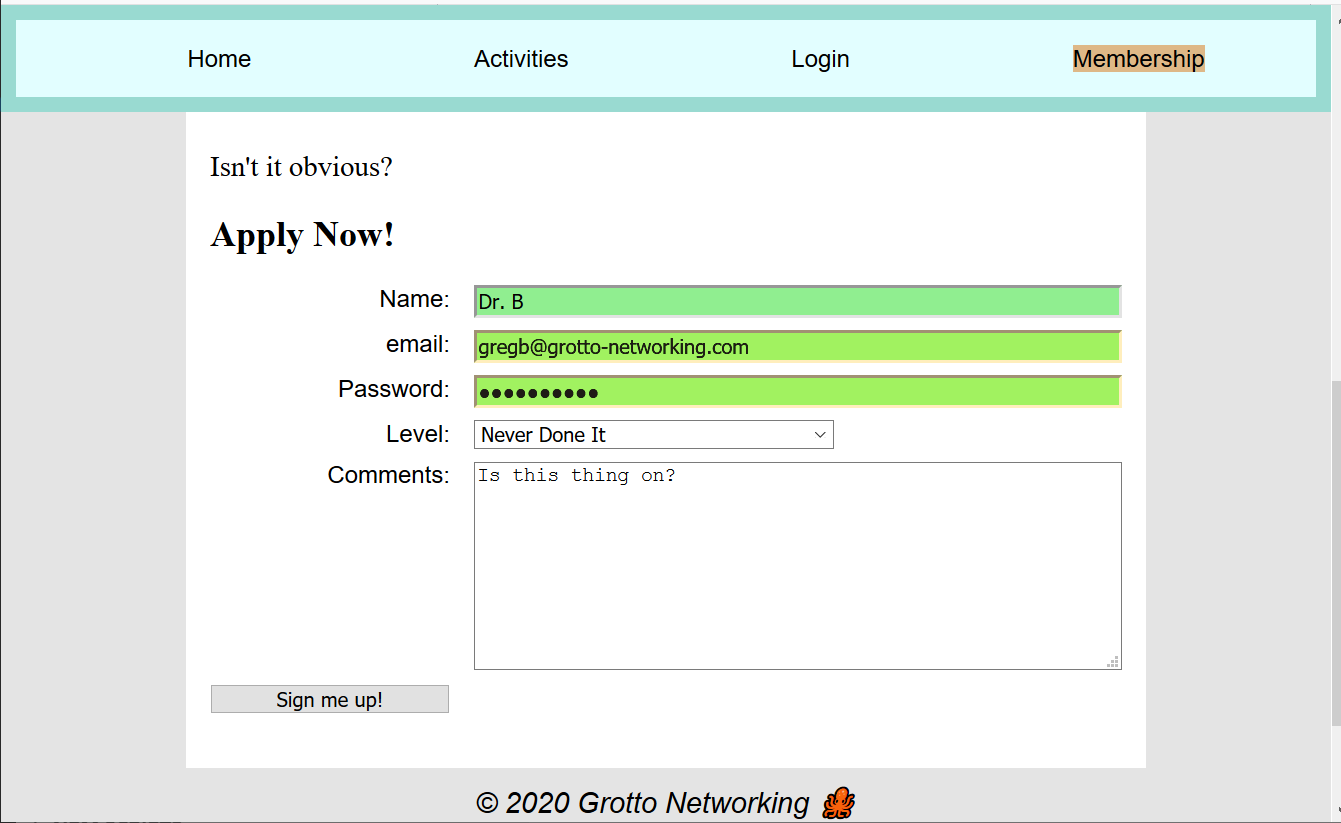
Now clean up your club membership application form using CSS grid. Show the HTML for the various inputs and button along with their containing element here.
Show the CSS you used here.
Your “application form” should look as nice (or better) than my screenshot below:
(c) Deployment
Deploy your updated web site and put a link to that site here.
