General Instructions
In this homework: We will protect sensitive information on the server from modification or access. Put any code you write for this homework into the clubServer directory except for problem 3-5 which will go into a new top level directory called clubReact.
Create and Use a new Branch hw11
We will create a new git branch called hw11 (starting from your ‘hw10’ branch) for use in this assignment. The branch you create must exactly match the one I’ve given you for you to receive any credit for this homework.
Prior to creating this new branch make sure your working directory is “clean”, i.e., consistent with the last commit you did when you turned in homework 10. Follow the procedures in GitHub for Classroom Use to create the new branch, i.e., git checkout -b hw11. Review the section on submission for using push with a new branch.
Use README.md for Answers
You will modify the README.md file to contain the answers to this homework.
# Homework #11 Solution

**Your name**
**NetID: yourNetID**
Questions
Question 1. (10 pts) See Members List (Admin Only)
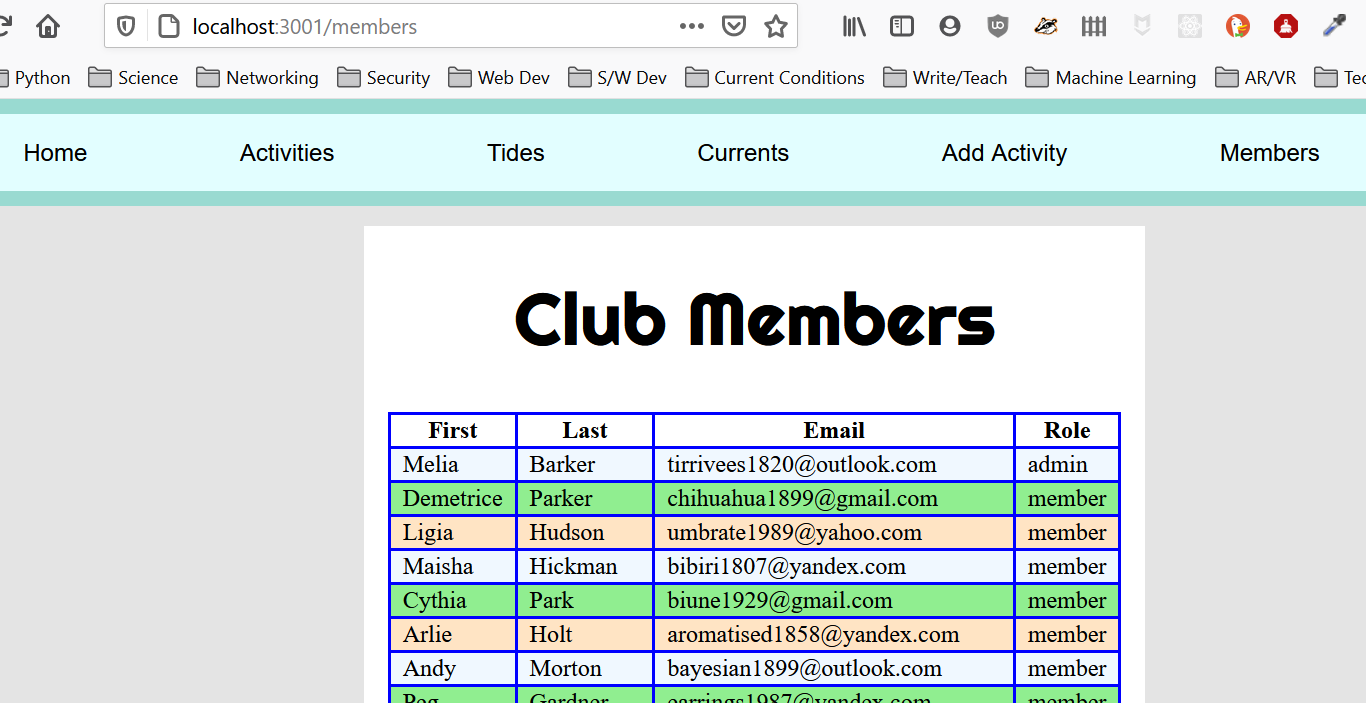
(a) Add Template and Path for “members” info
This will show a table of users with names, email, and role. Show a screenshot. Mine looks like:
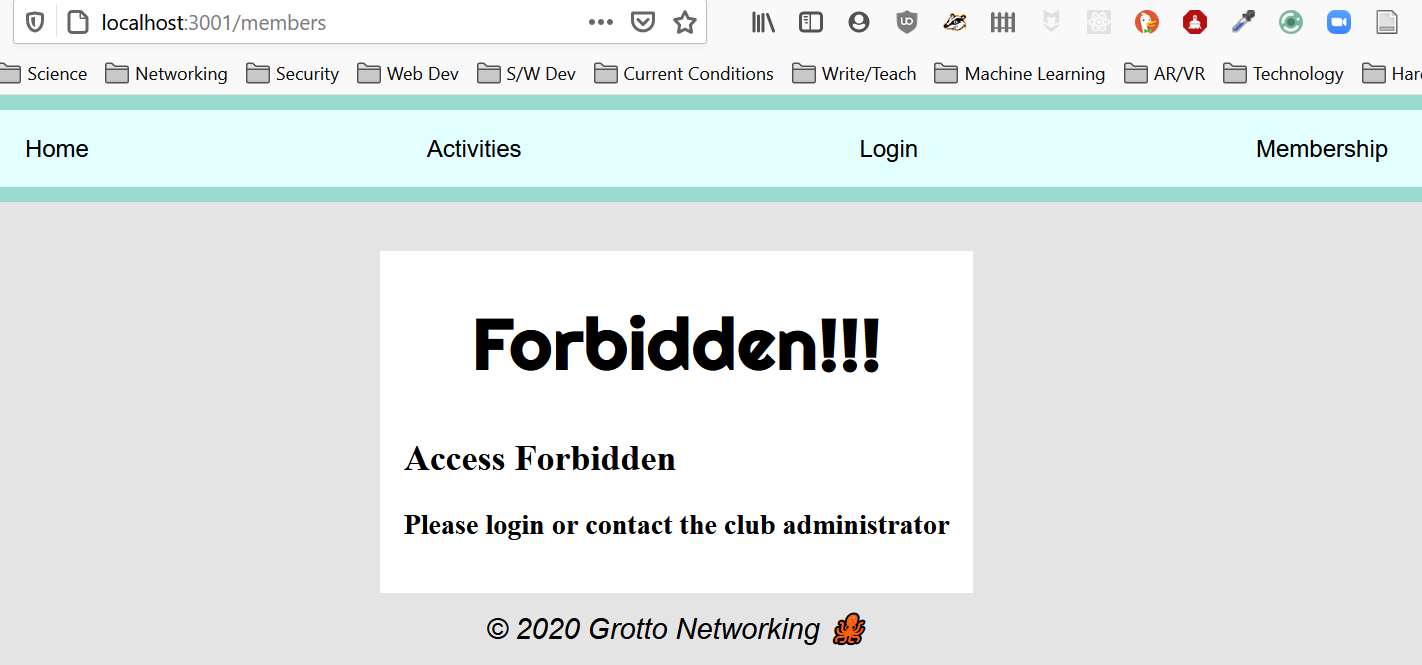
(b) Protect “member” info with Middleware
Now add appropriate middleware to only allow an admin to get this information. You will also need to add some kind of forbidden template. Show the middleware you wrote for this here. Take a screenshot showing the warning page shown to unauthorized users. Mine looks like:
Question 2. (10 pts) Protect and Deploy
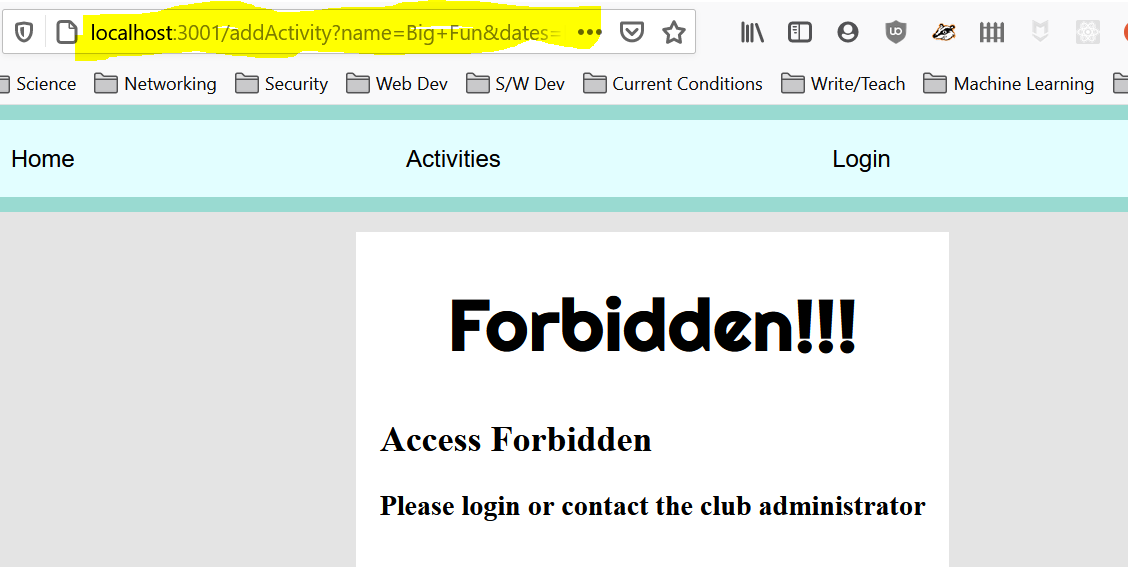
(a) Protect Add Activity interface
Add middleware to only let members or the admin add an activity (you should already have the form and server handler function from the previous assignment). You can reuse the forbidden template you wrote if its generic enough. Write here how you would test that this protection works. Show a screenshot of the result of this test. Mine looks like:
(b) Deploy Your Server
Deploy your server to DrBsClasses.org. Put a link here. We will test automatically and by “hand”.
Question 3. (10 pts) Parcel and React Installation, Hello React
Create a new top level clubReact directory for this and your future React work.
(a) Create package.json
Within your clubReact directory create a package.json file by one of the methods recommended in in the course slides. Be sure to commit this file to Git. Write the approach that you used to create the package.json file here.
(b) Global Install of Parcel, Local Install of React
We will be using the Parcel.js bundler for development and building our React apps. We will install this using NPM. If possible do this as a global installation (Linux and Mac users may need to sudo for this) with the command:
npm install -g parcel-bundlerWithin your clubReact directory do a local install of React with the command:
npm install --save react react-domShow the contents of your package.json here (not the package-lock.json).
(c) Create a basic HTML file
Starting with the file below as your base index.html file in your practice directory. Update the <title> element with your name rather than mine.
<!DOCTYPE html>
<html lang="en">
<head>
    <meta charset="utf-8" />
    <!-- <link rel="stylesheet" href="index.css" /> -->
    <meta name="viewport" content="width=device-width, initial-scale=1, shrink-to-fit=no" />
    <title>Dr B's First React App</title>
</head>
<body>
    <div id="root"></div>
    <script src="index.js"></script>
</body>
</html>
(d) Write your first React App
In your clubReact directory create an index.js file based on the following, modify it to use your name and not mine.
// index.js file
import React from "react";
import ReactDOM from "react-dom";

let myName = "Dr. B"; // Use your name not mine!!!
let contents = <section>
    <h1>Hello from React</h1>
    <h2>{myName}</h2>
  </section>;

ReactDOM.render(contents, document.getElementById("root"));
(e) Run Parcel.js in development mode
Now its time to debug your application. To run Parcel.js in development mode for our project use the command:
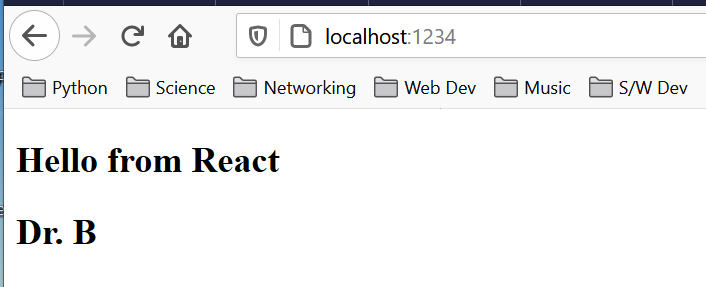
parcel index.htmlDebug your app. Sometimes you need to restart Parcel after you fix major bugs that stop the “bundling”. Take a screenshot of your command line. Mine looks like:

Open your browser to the link given in the console and take a screenshot of your React app. Mine looks like:
Question 4 (10 pts) React App HTML structure and CSS
(a) Starter React with CSS
In your clubReact we will update the index.html and index.js files from the previous problem. Bring over your CSS styles from your clubProject and link to them as from your index.html file in the standard HTML way.
Hints: There are a number of issues to be fixed as we take the raw HTML from our website project and bring it in as JSX. One is that all HTML class attributes that you may have been using for styling need to be changed to className attributes in JSX.
In addition images need to be brought in via a two step process. First import you images and then use that imported item for the src attribute, e.g.,
import neptune from "./images/PIA01492.jpg";
// Use in JSX
let nepImage = <img src={neptune} />;(c) Home Component
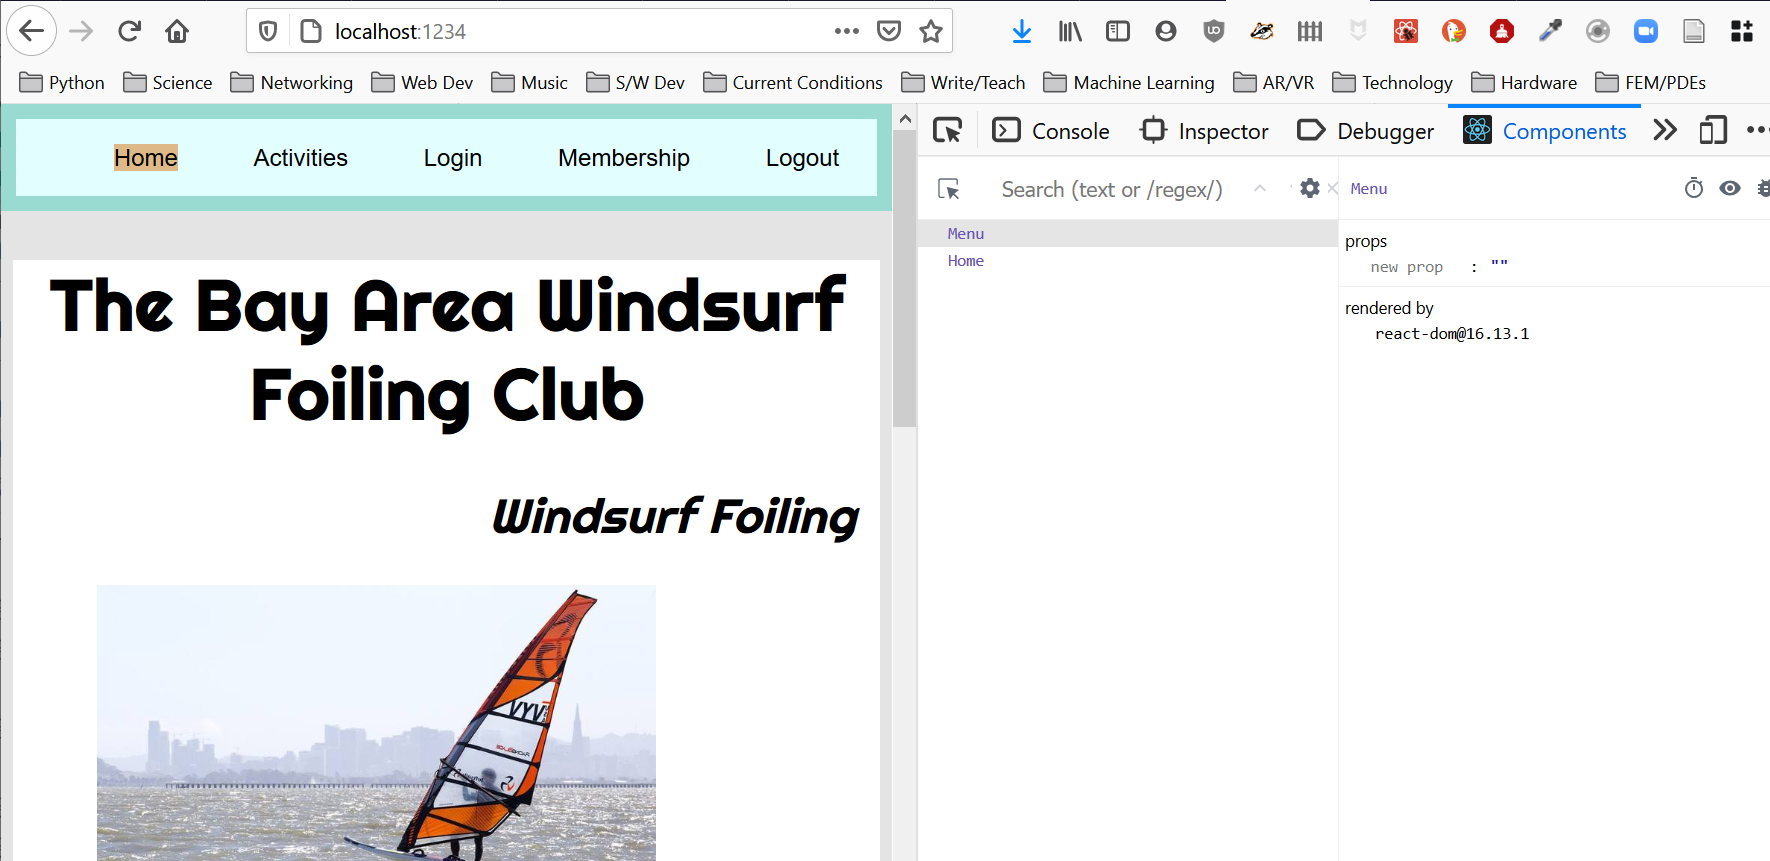
Now create a new file holding a home React functional component based on you club websites home page. Import and show this component along with your menu component.
My index.js showing both the menu and the home components looks like:
import React from "react";
import ReactDOM from "react-dom";
import events from "./eventData.json" // Importing JSON!
import Menu from "./menu"; // my new menu component
import Home from "./home";

// Create contents using imported Menu and Home page
// This is a [React Fragment](https://reactjs.org/docs/fragments.html#short-syntax)
// that avoids creating extra <div>s.
let contents = <><Menu /> <Home /></>;

ReactDOM.render(contents, document.getElementById("root"));
Give the filename of your new home component here. Show a screenshot of your app here with both menu and home component showing.
My screenshot looks like:
Question 5 (10 pts) Activities and Membership Components
Since we will be working with React through the rest of the course you should now install the “React Dev Tools Extension” in one or more of your development browsers.
These will allow you to look at React components, manipulate state, etc…
(a) Activities Component
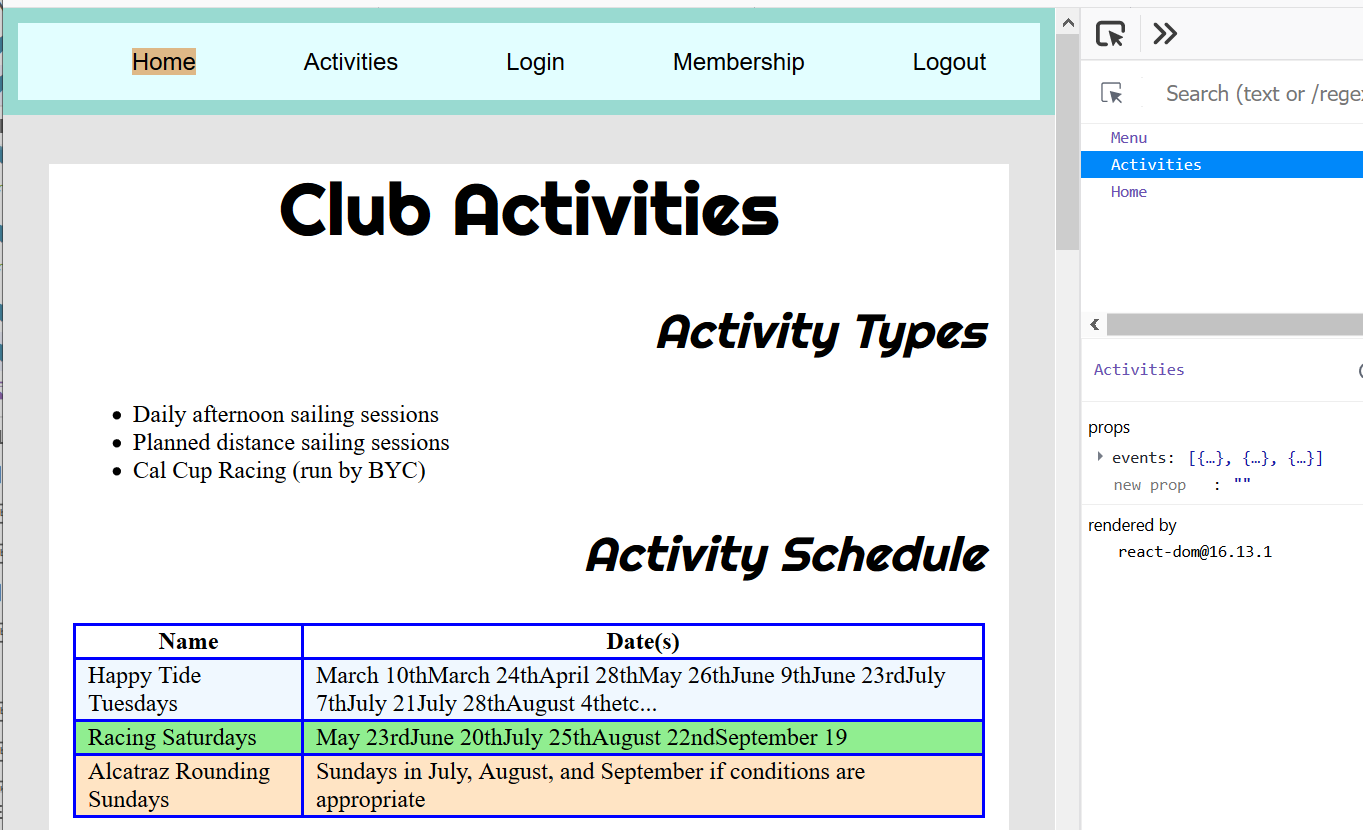
Create an activities component that receives an array of activities and displays them in a table. Part of my index.js file that uses this component now looks like:
import events from "./eventData.json" // Importing JSON!
import Menu from "./menu"; // my new menu component
import Home from "./home";
import Activities from "./activities";

let contents = <><Menu /> <Activities events={events} /></>;

ReactDOM.render(contents, document.getElementById("root"));
Show the code for your activities component here. Show a screenshot of your app displaying this component and with the React dev tools component view focusing on this component.
My screenshot looks like:
(b) Membership
Create a (non-functioning) membership component. Note: we will bring this component to “life” in the next homework.
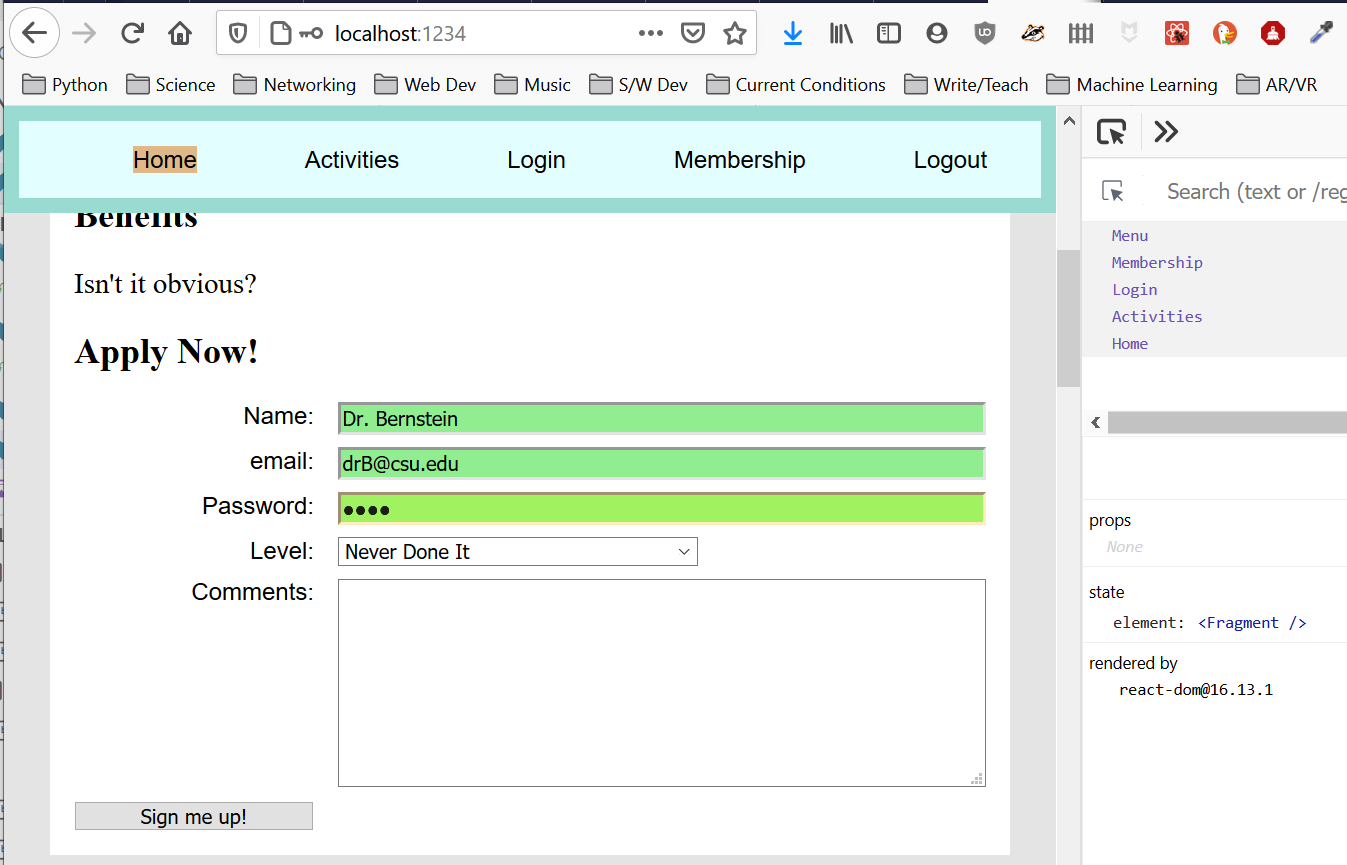
Give the file name for this component. Show a screenshot of this component in use in your app.
My screenshot looks like:
