GitHub Class Room Procedures

Dr. Greg Bernstein

August 11th, 2021

GitHub/Git for Class

Learning Objectives

  • Show you how to create your GitHub repo for this class
  • Show you how to create (clone) the corresponding repo on a machine of your choice
  • Show you how to update (commit) changes and send (push) them to the remote
  • How to deal with branches for HW2 and beyond

Prerequisites

  • You need to have or sign up for a free GitHub account
  • You need to install git on your development machine
  • You need network access when doing operations involving your remote repo

Establishing the Remote Project Repository

  • To establish your private remote assignment repository we will give students a special URL via Blackboard.

  • This URL will create a private project repository for you on GitHub associated with our class and your GitHub account.

Join Classroom

Joining the Classroom

Join Roster

Let me know if you don’t see your NetID, continue anyway

Join Roster

Accepting the Invitation

Example Assignments Repository

Repo Creation 1

Your view may be different

Assignment Repo Creation 1

Repo Creation 2

Assignment Repo Creation

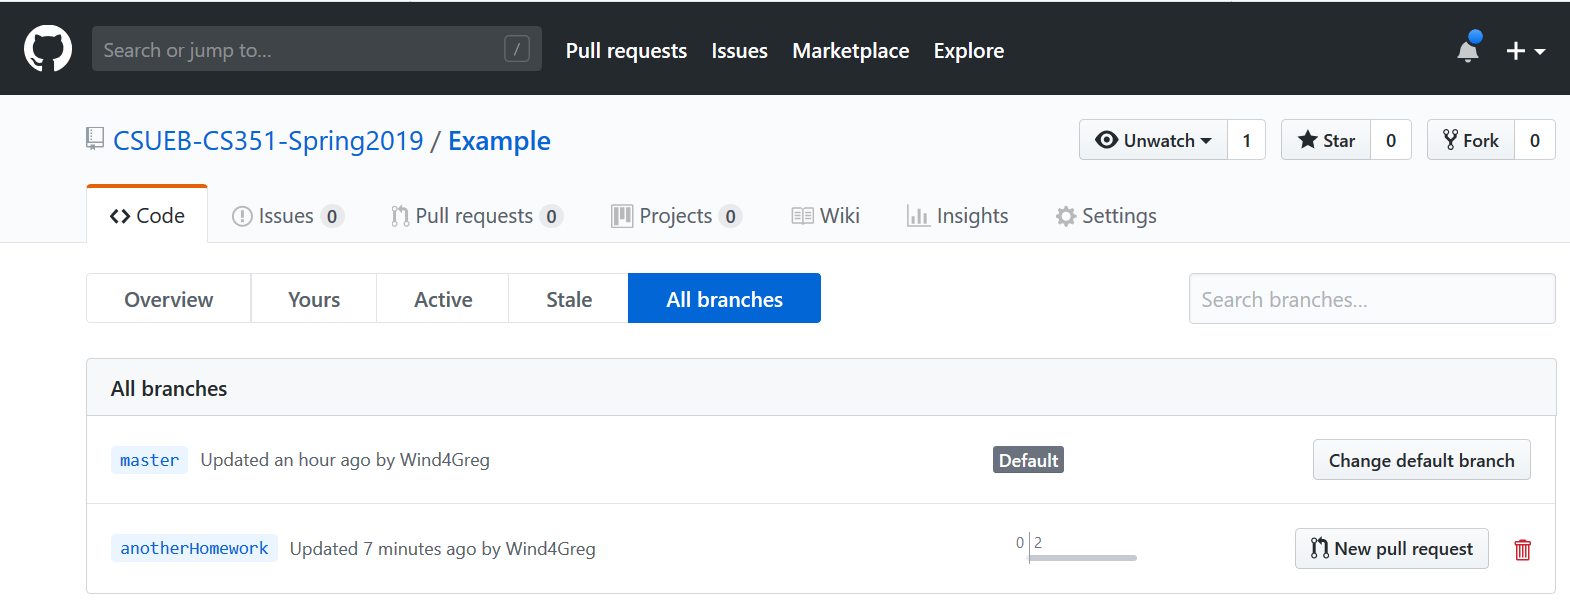
The Remote Repository

Everyone gets their own repo

Example Assignments Project Repository

Working Procedures

Don’t Add via the Web GUI!

Don’t ever use this GitHub “feature”!

Don’t use add file at GitHub!

Cloning the Remote

Click on the green “Code” button

Cloning information

Choose a nice Directory

  • Choose an easy to get to directory to hold your assignments repo/directory
  • Avoid paths with spaces and other “strange characters”
  • You can always move this directory later or “clone” again

Local Cloning Commands

Using the git command line (same for all platforms)

Local Cloning

Make Edits

Including removing, creating files and dirs

After changes

Stage, Commit, and Push

  • Stage changes locally via the add command
  • Commit changes locally via the commit command
  • Push changes to the remote via the push command

Stage and Commit

Stage and commit changes

Push

Check status and Push

Updated View at the Remote

Reload page to see changes to README.md

Updated view of remote (after push)

Assignment Grading and the Remote

  • Only you, me, and the grader have access to your remote repo at GitHub
  • We will grade your assignment by reading the rendered README.md file
  • We will not go looking for files hidden within directories, only the top level README.md file counts as a homework submission.

Check You Understanding

Interactive Questions

  • When should you add files to GitHub through its web interface?
  • Can you use any GitHub repo that you create on GitHub for this class?
  • Which git commands require network access?

I want a GUI!

GUI Options

Just a few options that I use

  • VSC and Atom have good git support built in
  • Other editors/IDEs have plugins of varying capabilities
  • I use Tortoise Git too, but it is windows only
  • GitHub Desktop is free, cross-platform, and full of features.

GUI Advantages and Issues

Use of a git GUI is optional, but recommended

  • You want basic staging, commits, and push to be easy!
  • I go back to the command line for anything tricky
  • I cannot support you during lectures in your use of a git GUI, come to office hours

GitHub Desktop (GHDT)

Adding a local repo

Adding a local repo

GHDT View 1

Prior to any new changes

Clean repository

GHDT View 2

After some changes

Showing changes

GHDT View 3

After commit prior to push

Reminding you to push

Project History

Viewing Project History

  • Use the log command, i.e., git log
  • Use the GitHub web interface

Project History Command Line

git log command

GitHub “commits” button

How to find commit history on GitHub

The “commits” button

GitHub commit History

Commit History

Repository History in General

Tells us a lot about how work on the project was conducted

  • Visible to all on open source projects
  • Visible to your coworkers and boss at work
  • Visible to you, the grader(?), and me for class

Assignment Submission

Branches

  • We will use a different git branches for each assignment.

  • The first assignment will use the default master branch.

  • Git commit hashes are timestamped and these are used to determine if an assignment is on time.

Commit Hashes

Homework 1 Submission

  • To turn in your assignment you must commit and push to your class repository prior to the submission deadline.

  • You must make sure your name and NetId are in your README.md file

  • You may make many commits and pushes, only the last (prior to submission deadline) will be graded.

Creating a Branch for a new Assignment

  • Make sure repo/working files are sync’d with git status. Fix things up otherwise.

  • Checkout to a new branch with the exact name I give you git checkout -b anotherHomework

New Assignment Branch

Work on that Branch

  • Make your commits
  • Do your pushes
  • First push with new branch will cause and error, git tells you what to do

New Branch first Push

Remote Branches View

Homework > 1 Submission

  • You will first create the new branch according to the homework instructions
  • You will commit and push to this new branch prior to the submission deadline
// reveal.js plugins